How to Scrapbook your First Page
If you have just stumbled across the fantastic hobby of scrapbooking then it can be a bit overwhelming to know where to start. Scrapbooking is a wonderfully creative and mindful hobby that you can do easily if you know how. You may of purchased all of your scrapbooking essential tools and now are faced with how to start? Here I will show you step by step with photos How to Scrapbook your First Page layout.
I could be compensated, if you click on a link in this post via a cash payment, gift or something else of value for writing this post. See our full disclosure policy and privacy policy for more details.
There are many different types of scrapbooking and scrapbooking for beginners is easy if you know how. Traditional scrapbooking has been around for many years and to get started you only need a few things. Here we will discover in easy guided steps how to create your first scrapbook page and from scratch to pop in to your scrapbook album.
How to scrapbook step by step guide on how to create your first Scrapbooking page for your album
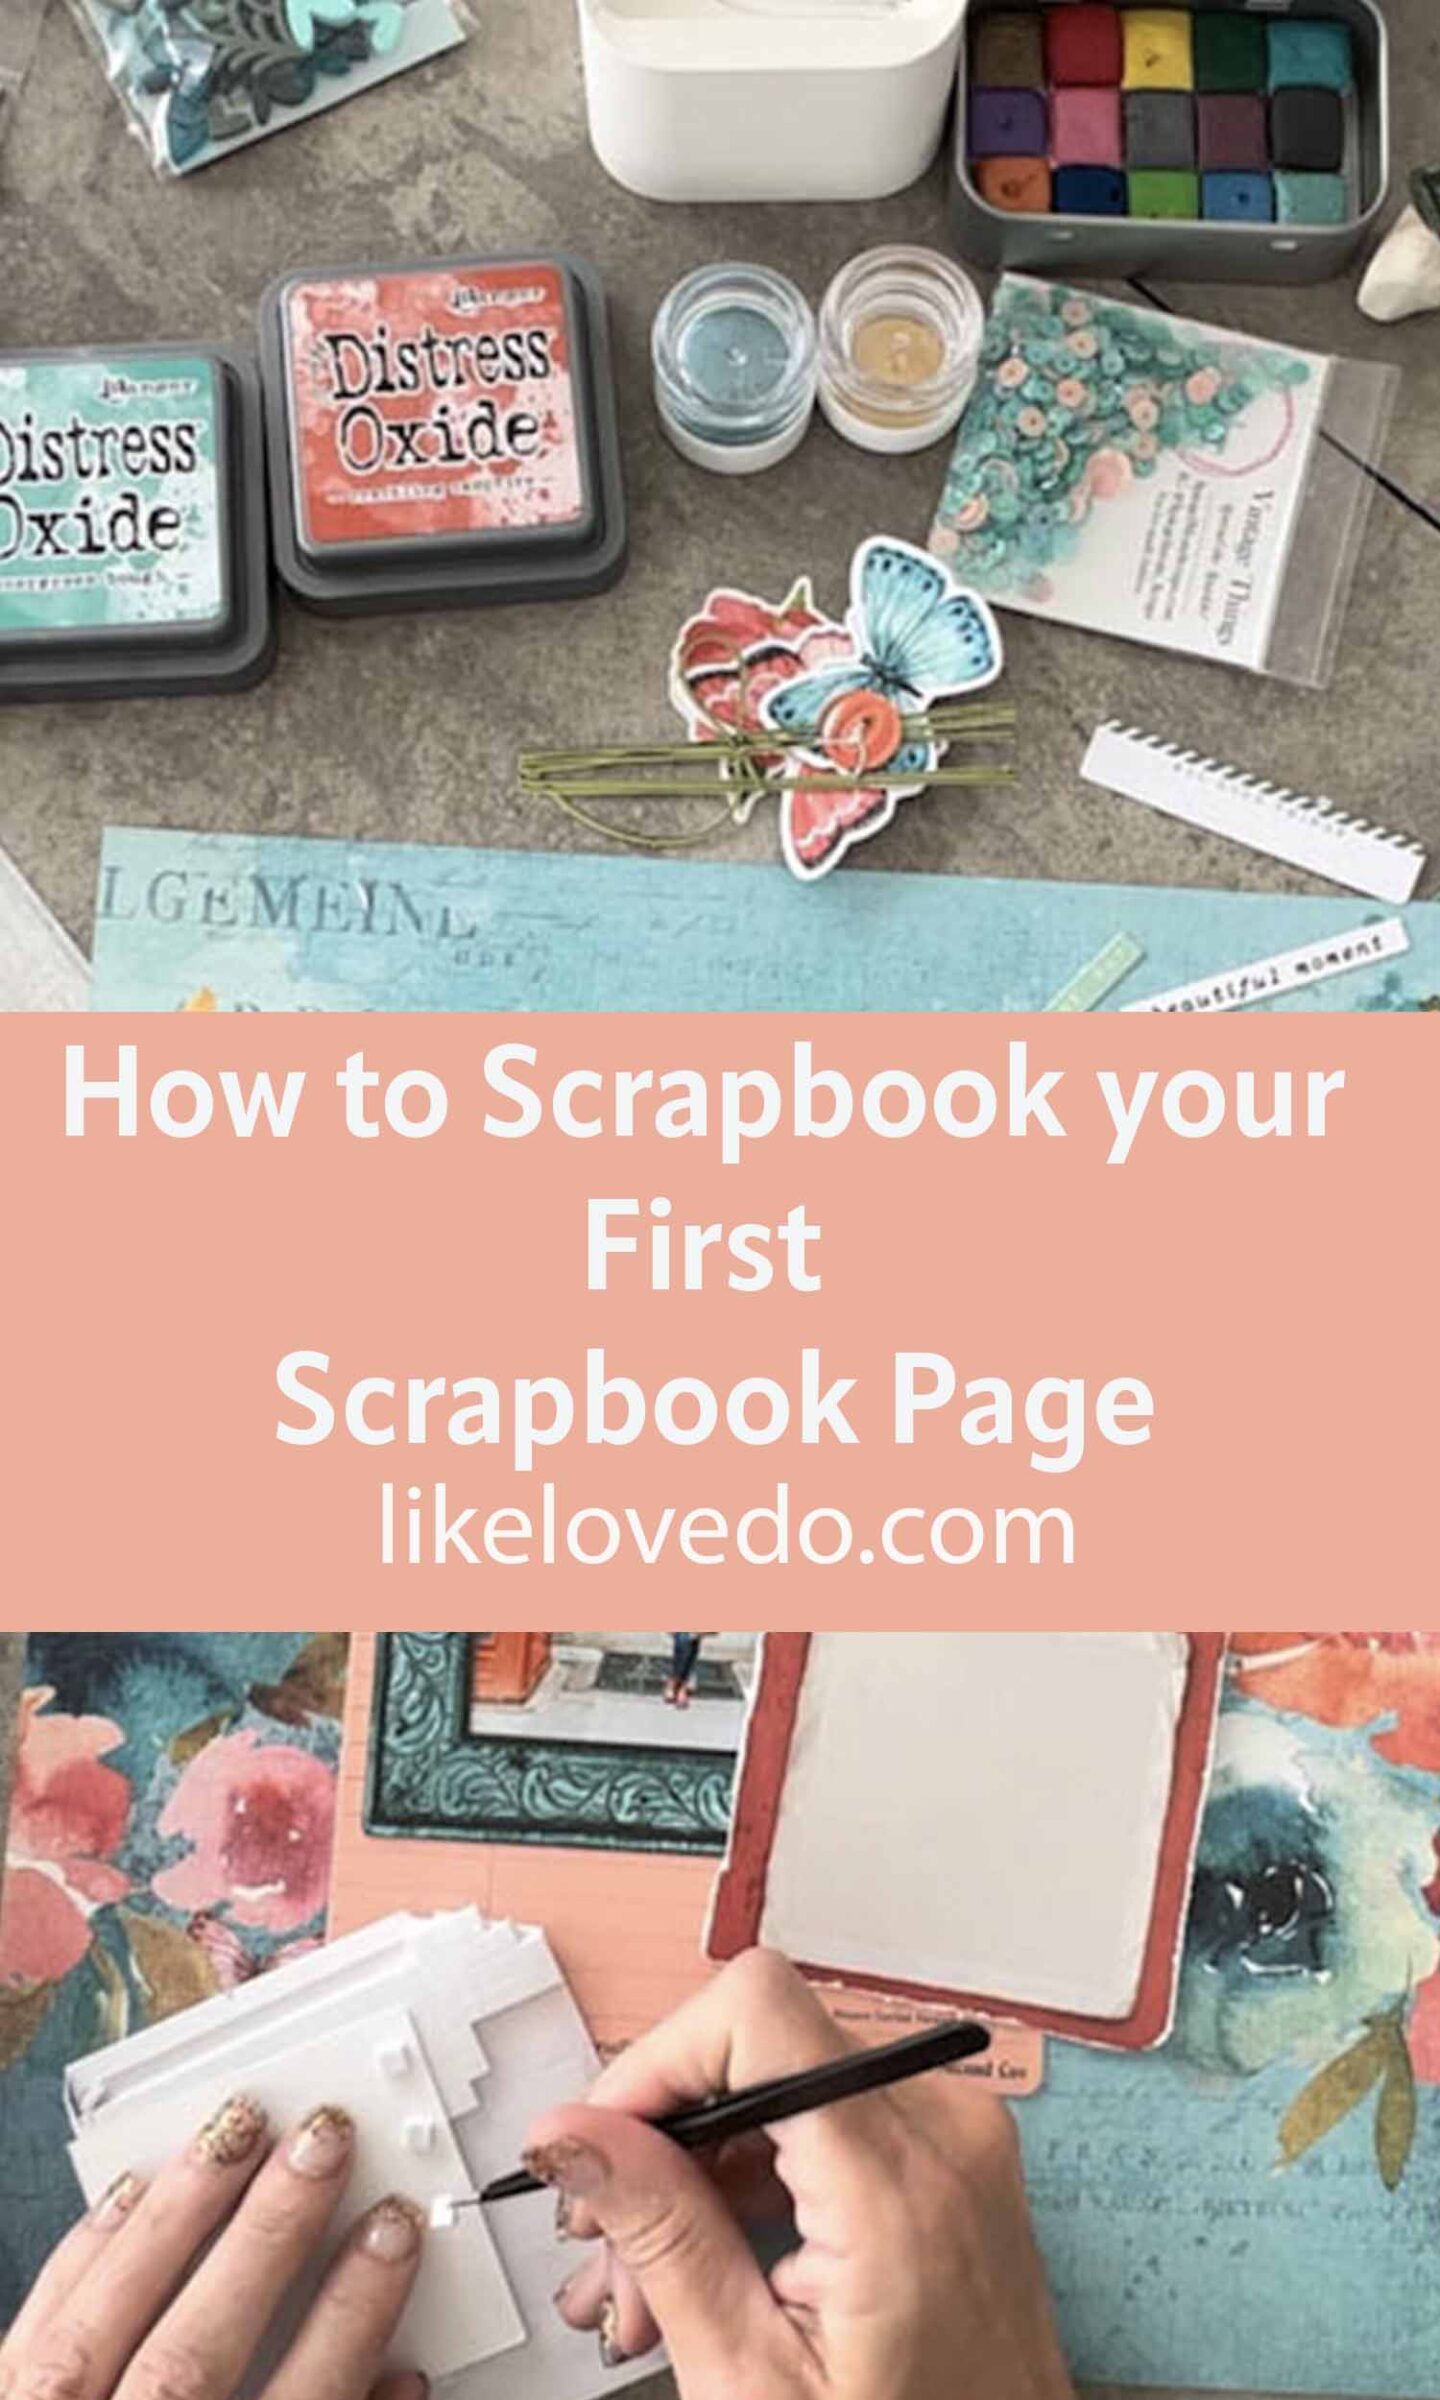
What is the first step in scrapbooking?
The first step in scrapbooking is to gather your supplies and photos. Look for supplies that coordinate together and match with your photos to make it easier.
What are the 3 main elements of a scrapbook?
The 3 main elements of a scrapbook page once you have your photos are Card stock canvas background, Title and journaling and embelishments.
What tools do I need to Scrapbook your First Page
To start scrapbooking, you will need some basic tools and materials these include scissors, paper trimmer, Card stock, glues and emblesshments.
Take a look at what I consider these best glues for scrapbooking with paper here as well as a full list of supplies for your scrapbooking tool kit here
How to create your first scrapbooking page step by step
How do you make a scrapbook page step by step? Scrapbooking a page is normally done in a fairly straight forward process starting with your photo. Take these steps to create a beautiful scrapbooking page.
Choose your photo the first step on how to Scrapbook your First Page
Choose one photo or as many as you like. Look at one moment in time in your photos to scrapbook or a series of photos to tell a story. Scan old heritage photos and reprint them or use photo corners to keep them safe for years to come

Choose a background card stock and papers
Next choose a scrapbooking background for your page with Card stock or patterned paper. Pick a colour scheme that matches and compliments your photos for a more uniform look. You can use contrasting colours or toning colours. Look at the patterned paper for inspiration and match it to the card stock.
You can either scrapbook directly on to the patterned paper or cut out the paper and apply it to a card stock background. These two page below use the same paper ranges but one has a card stock base.

Choose some matching embellishments
Choose some embellishments that match and work with your chosen papers. Lots of scrapbooking brands make matching paper cuts and embellishments.

Remove the Selvedge strip
Remove the Selvedge strip from the paper. Patterned paper has a branding strip across the bottom you need to trim this off. Sometimes they are patterned and you can use them in your layouts.

Crop and mount your photos to size
Crop ( to crop means cut to size) your photos. Remove any unwanted parts, don’t if the background has access landscape you may want this in the picture. You want the subject of the photo to be easily seen.
Mount your photo on to paper or card using archival glue. This creates a frame around your photo so that it stands out. Simple white card works well but you can choose a matching patterned paper or a contrasting card colour to compliment your photos. Lay your photos on the card to see which match better. Use double sided tape or reposition-able tape for photos and paper.

Choose some design inspiration
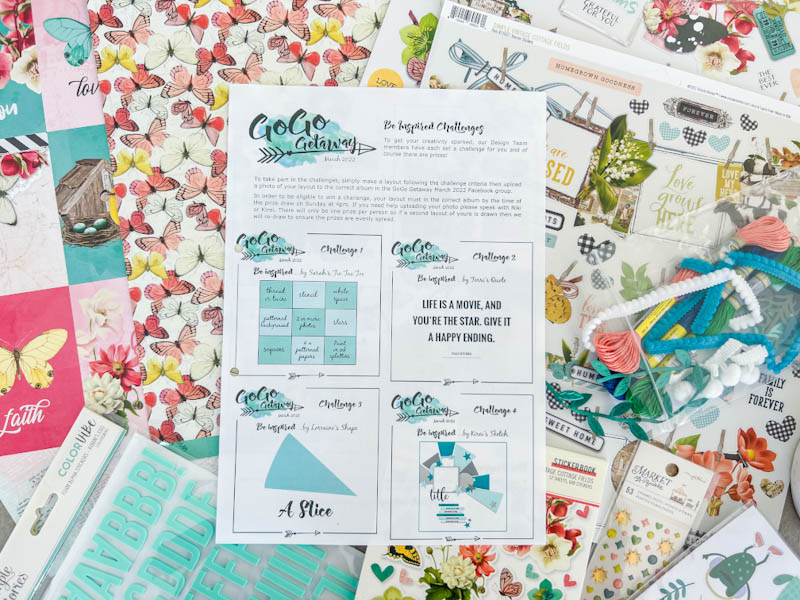
Choose a design layout for your page. Using inspiration from a layout you may have seen take a look at the background. Has it been painted or are there sections of patterned paper on it? Use the patterned paper to create a visual pattern that you can upload your photos too. You can cut up squares or shapes or even rip your paper to create a different look. Try using watercolour paints to create a mixed media background. Add texture to your page by tearing corners of paper or distress edges using the blade of a pair of scissors.
Try using a sketch to follow if you are stuck for ideas
Decide on photo placement
Once you have your background in place position your photos on the page and glue in place. You can use foam pads for depth but bear in mind this will make your pages thicker. Try a few different places before deciding where they go.
Add embellishments to your scrapbooking page
Embellish your page with eye-catching pieces for a visual effect. Create clusters of embellishments or layer patterned paper to create an eye catching design. You could put some on the corners of your photos to lead the viewer to the pictures. Embellishments look good in threes so look at where you can strategically place these to create interest. This attention to detail and creativity can be highlighted as hobbies and interests for CV, showcasing your artistic skills and eye for design.
Use ribbon, paper flowers or thread to decorate your page. Add old tickets and maps into pockets on pages.
Play around with the placement until you are happy then you can start to glue down. Use wet glue to attach tiny items such as sequins or anything that requires a bit of hold.

Add journaling
Do you want to tell a story? Add journaling about your photos with a pen or cut from printed paper. Find a spot on the page to pop some journaling on such as what you were doing in the photos and where you were. Tell a story, what was happening in the photo? Add the date and any names too. You can also Draw, paint or doodle on your page. Try making a dotted line around the edge for a fake sewing look.
Add a Title
Add a title to a Scrapbooking page. This can be in the form of the letter, stickers handwriting, or even a Cut file. You can find lots of ideas for titles or use a favourite word or phrase referring to the picture. Take a look at some of my Scrapbooking title ideas.
- Halloween scrapbooking titles
- Autumn Scrapbooking titles
- Christmas scrapbooking titles
- Disney scrapbooking titles
Add some finishing touches
Add some paint splats or sequins for effect. Use water colour paints or Nuvo drops and gems to add dimension this is optional.

Put your page in a page protector
If you are not scrapbooking straight in to a scrapbook put your page in to a page protector that fits your album. This insures your page will not get damaged or fall apart. This was your scrapbook layout should last for years
Finally Pop your page in to an album
Finally Pop your page in to an album and Don’t worry about how your page looks, It is your own personal idea and your memories and you will get as time goes along.
Choose one moment in time in your photos to scrapbook.
Scan old heritage photos or use photo corners to keep them safe.
Use stamps and ink pads to create background patterns.
Print clip art out at home and cut it out for extra embellishments.
Don’t forget to date your page.
Where were you? make a note of where the photo was taken.
Use wet glue to attach tiny items such as sequins.
Don’t worry about how your page looks, It is your own personal idea.
