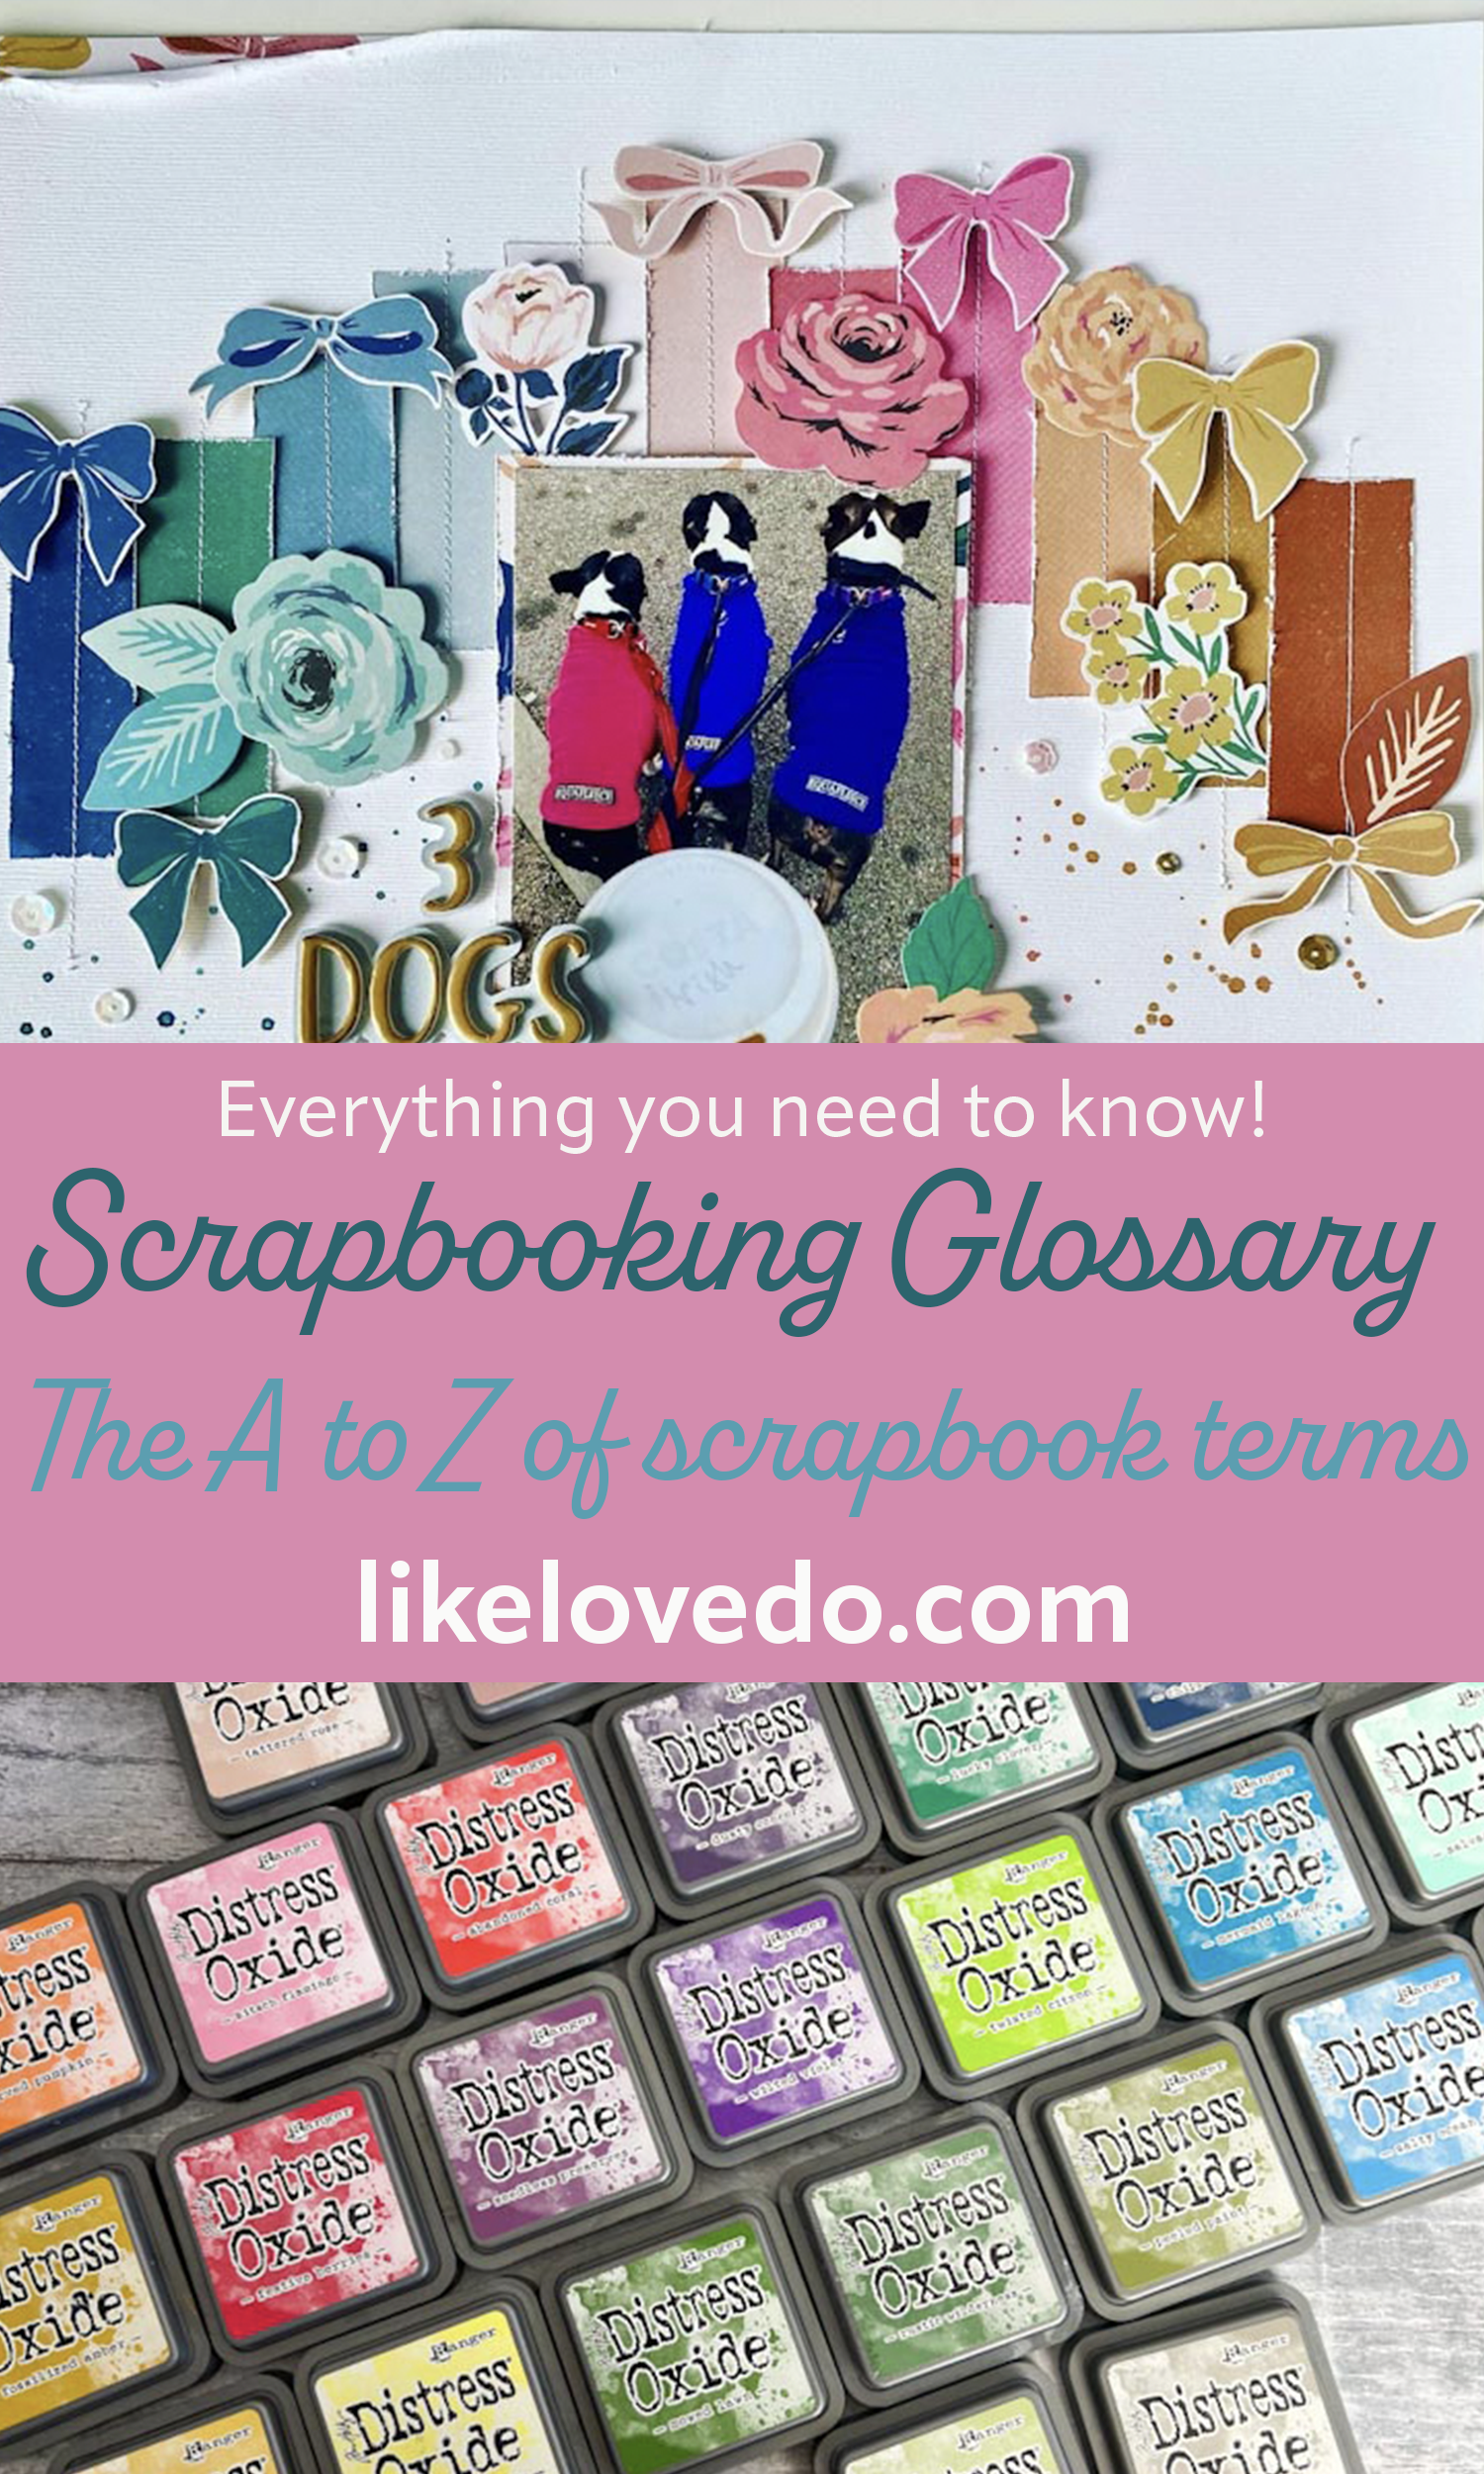
How To Learn Scrapbooking
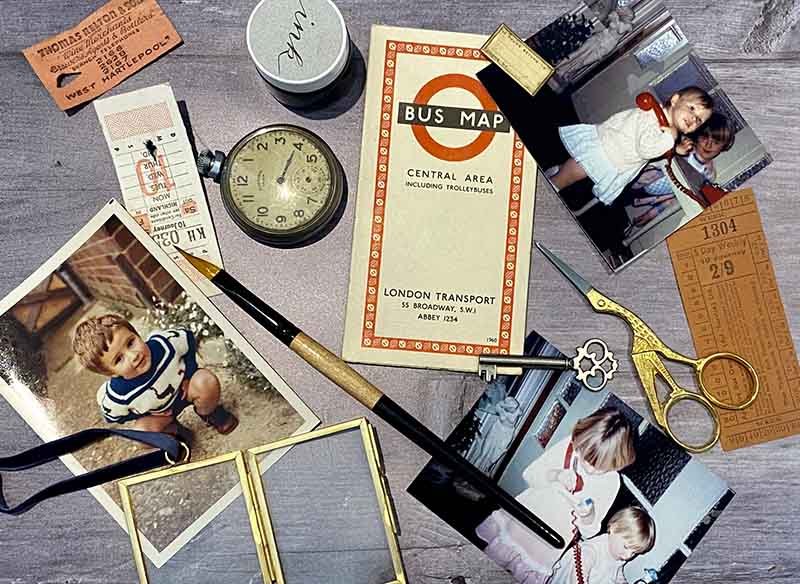
Hello, you must be here because you want to know How To Learn Scrapbooking? You have shoeboxes full of printed memories collecting dust because the idea of organising them feels overwhelming.
I could be compensated, if you click on a link in this post via a cash payment, gift or something else of value for writing this post. See our full disclosure policy and privacy policy for more details.
Scrapbooking seems like it requires artistic talent, expensive supplies, and hours of free time you do not have. You scroll past beautiful layouts on Pinterest and think that level of creativity is out of reach. But here is the truth: scrapbooking is a skill, not a gift. Anyone can learn it with the right starting point and a few simple techniques. I have been scrapbooking for over 20 years, and my pages have gone from simple to more detailed, but it all started with a few simple tips.

How to Learn Scrapbooking From Complete Beginner to Pro
The craft has evolved far beyond the bulky albums your grandmother kept. Modern scrapbooking blends storytelling with accessible design principles that work whether you are preserving baby milestones or documenting travel adventures. You do not need a craft room or a design degree.
What you need is a clear roadmap that takes you from scattered photos to finished pages worth passing down.
What You Actually Need to Start Scrapbooking
Most beginners waste money on supplies they never touch because craft stores make everything look essential.
Your first album requires five core items and nothing more. Start with a 12×12 album with page protectors because this size gives you layout flexibility without overwhelming your workspace. Add acid-free cardstock in neutral tones as your base layer since these colors complement any photo palette and will not yellow over time.
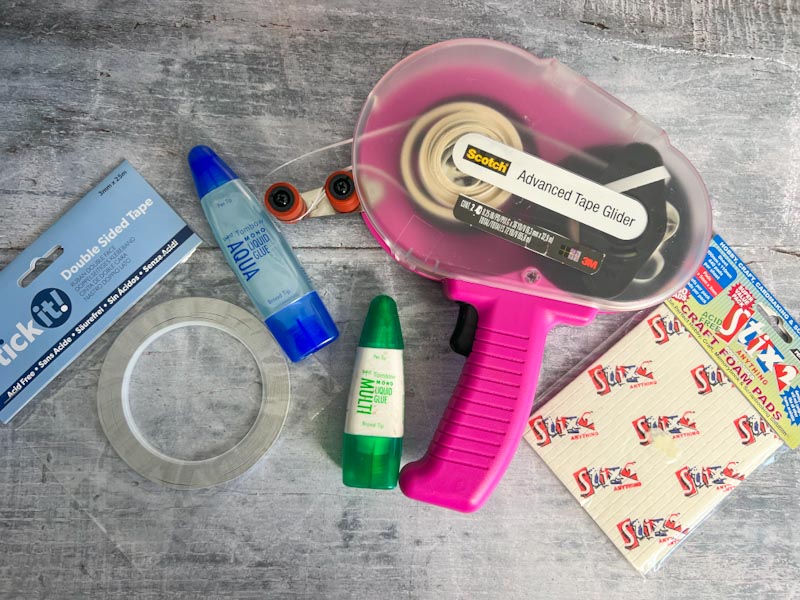
Pick up photo-safe adhesive in either tape runner or glue stick form. Avoid liquid glues that warp paper and make repositioning impossible. Grab one black archival pen with a fine tip for journaling because your handwriting adds personal value that typed text cannot match.
The last essential is sharp scissors or a paper trimmer. Clean cuts make amateur pages look professional.
See my full scrapbooking tool kit for any extras here.
Skip these common traps:
- Themed sticker packs that only work for one specific occasion
- Expensive die-cutting machines before you understand basic layouts
- Specialty papers in patterns that clash with most photos
- Embellishments like rhinestones and ribbons that add bulk
Build your collection slowly as you discover your personal style. The supplies you actually use will reveal themselves after completing your first ten pages.
The Five-Minute Layout Formula That Always Works
Blank pages trigger creative paralysis, but professional scrapbookers rely on proven formulas. This makes learning Scrabooking easier.
The grid method solves this. Divide your 12×12 page into invisible quadrants. Place your focal photo in the upper right or lower left quadrant because the eye naturally travels to these power positions. This photo should be your largest image, either 4×6 or 5×7.
Fill the opposite diagonal quadrant with 2-3 smaller supporting photos, each around 3×3 or 3×4. Leave the remaining two quadrants for journaling and white space. White space is not wasted space. It gives your eye room to rest and makes photos pop.
Follow this sequence every time:
- Mount background cardstock to your album page
- Position all photos without adhering them first
- Add a single cardstock mat under your focal photo
- Secure everything with photo-safe adhesive
- Write 3-5 sentences of context in one quadrant
This formula works for birthdays, vacations, everyday moments, and everything between. Master it before attempting complex designs.
How to Choose and Arrange Photos Like a Storyteller
Your camera roll has 500 photos from one event, but cramming them all onto pages kills visual impact.
Select 3-5 images per layout that tell a complete micro-story. You need a wide establishing shot that sets the scene, close-up emotion captures showing faces and reactions, and detail shots of hands, food, decorations, or meaningful objects.
Variety in photo orientation matters more than most beginners realize. Mix horizontal and vertical images to create movement. Odd numbers feel more natural than even groups, so clusters of three or five photos balance better than pairs or sets of four.
Photo sizing follows hierarchy rules:
- Hero image: 4×6 to 5×7, shows the most important moment
- Supporting cast: 3×3 to 4×4, adds context and secondary action
- Accent shots: 2×2 to 3×3, small details that enrich the story
Edit ruthlessly. Duplicate poses and nearly identical shots dilute your narrative. One perfect image beats three mediocre versions.
When your layout tells a story clear enough that someone could understand the event without reading your journaling, you have mastered photo selection.

Journaling Techniques That Add Meaning Without Pressure
The biggest regret among scrapbookers is skipping the written story because perfection paralysis took over.
Your journaling does not need eloquent prose or flawless handwriting. Future you needs context that photos cannot provide: who attended, what was said, how you felt, why this moment mattered. Three sentences deliver more value than a blank space.
Try these low-pressure approaches when words feel hard:
- The Q&A method: Answer “Who was there? What happened? Where were we? When was this? Why did we go?”
- Conversation capture: Write down one funny quote or memorable thing someone said
- Sensory snapshot: Describe one smell, sound, or taste from that day
- The feelings list: Jot down 5-10 emotion words that capture the mood
- Letter format: Write directly to the person in the photo as if they will read it years later
Write directly on your layout with archival pen or print journaling blocks on cardstock if your handwriting anxiety runs deep. Either method works as long as the stories get recorded.
Date everything. Your memory insists you will remember when this happened, but you will not. Month and year minimum, full dates better.
The photos show what happened. Your words preserve why it mattered.

Color Coordination Without an Art Degree
Clashing colors make even well-composed layouts look chaotic, but you do not need color theory expertise to create harmony.
Pull colors directly from your photos. Examine your images and identify the 2-3 most prominent hues. Choose cardstock and accents in those exact color families. This foolproof method guarantees cohesion because your supplies literally match your pictures.
Neutral bases save beginners from color mistakes:
- White or cream: Makes bright photos pop, works with everything
- Kraft brown: Adds warmth, perfect for vintage or outdoor themes
- Gray or charcoal: Modern and sophisticated, lets photos take center stage
- Black: Dramatic and bold, use sparingly to avoid overwhelming lighter images
The 60-30-10 rule borrowed from interior design applies perfectly to scrapbooking. Use your neutral base for 60% of the page, a complementary color for 30% as accent cardstock or mats, and a pop color for 10% in small embellishments or title letters.
Monochromatic schemes work when you are stuck. Pick one color and use three different shades: light, medium, and dark. This creates depth without the risk of color clashing.
Trust your eye. If a combination feels off when you step back, it probably is. Swap one element at a time until the page feels balanced.

Common Beginner Mistakes That Ruin Otherwise Good Pages
New scrapbookers repeat the same errors that make their work look amateur, but these fixes take seconds to implement.
Overcrowding kills visual breathing room. Just because you have space does not mean you should fill it. Leave at least 20-30% of your page as white or negative space. Your layouts will instantly look more professional and less cluttered.
Poor adhesive choices create heartbreak years later. Never use regular tape, rubber cement, or non-archival glue. These products yellow, fail, and damage photos over time. Only photo-safe, acid-free adhesive belongs in memory albums.
Watch these technical traps:
- Cropping faces too tight: Leave space around heads or you will accidentally cut off hair and create awkward framing
- Mixing photo finishes: Glossy and matte prints on the same page look disjointed unless intentionally used for contrast
- Forgetting page protectors: Exposed pages collect fingerprints, dust, and damage no matter how careful you are
- Using decorative scissors on photos: Dated wavy edges ruin timeless images, keep photo edges clean and straight
- Centering everything: Perfectly centered elements look stiff, offset placement adds energy and interest
The biggest mistake is waiting for perfect photos before starting. Imperfect memories preserved beat perfect memories postponed. Blurry shots of genuine moments outvalue technically flawless images with no emotional weight.
Start with what you have. You can always remake favorite layouts as your skills improve.
How to Develop Your Personal Scrapbooking Style
Copying layouts from Pinterest teaches techniques, but finding your voice transforms scrapbooking from craft to creative expression.
Your style emerges through repetition and experimentation. Complete 15-20 pages before trying to define your aesthetic. You will notice patterns in the colors you choose, the amount of white space you prefer, and whether you lean toward minimal or embellished designs.
Ask yourself these questions as your portfolio grows:
- Do I prefer clean lines or layered textures?
- Am I drawn to bright colors or muted tones?
- Does my journaling take up large blocks or small snippets?
- Do I include many photos per page or spotlight single images?
- What layouts do I finish fastest and enjoy most?
Study scrapbookers whose work resonates with you, but copy their techniques, not their exact designs. Take a photo placement strategy from one artist, a color palette from another, and journaling style from a third. This remixing builds your unique approach.
Your handwriting, your photo choices, and your stories make your pages inherently original. Trust that your perspective adds value even when using established formulas.
Style evolves. The aesthetic you love today might bore you in two years, and that growth is the goal. Let your albums document your creative journey, not just your life events.
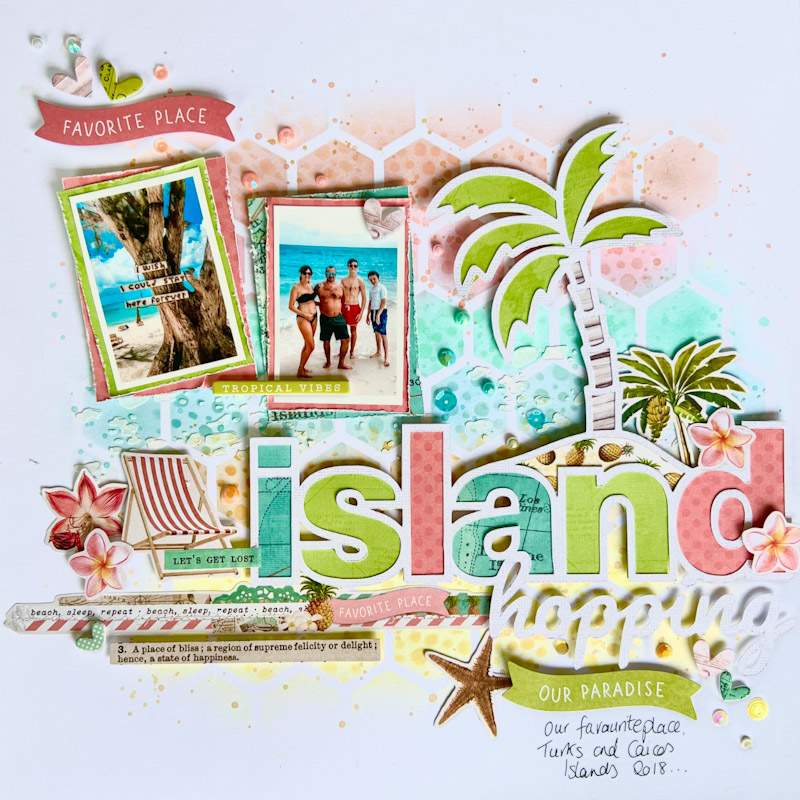
As you can see, I love cut files and colour!

Building a Sustainable Scrapbooking Practice
The craft dies when it becomes another obligation on your to-do list, so structure your practice around realistic habits.
Start with one page per week. This pace feels achievable and builds momentum without burnout. Dedicate a specific 30-60 minute block when your energy is high. Morning people scrapbook before work. Night owls create after kids sleep. Honor your natural rhythm.
Batch similar tasks to increase efficiency:
- Print photos once monthly instead of ordering for each layout
- Cut cardstock bases for 4-5 pages in one session so assembly goes faster later
- Group layouts by color scheme to use the same supplies across multiple pages
- Journal in batches while memories are fresh even if you assemble pages later
Create a portable kit with basic supplies in a small container. Scrapbooking during lunch breaks, waiting rooms, or while watching TV adds hours to your creative time without requiring dedicated craft sessions.
The album format you choose impacts sustainability. Traditional 12×12 albums hold fewer pages but showcase large photos beautifully. Smaller 6×8 or 8×8 albums require less space and finish faster, making them ideal for specific trips or yearly summaries.
Digital hybrid approaches let you design layouts on free software like Canva, then print completed pages to slip into sheet protectors. This method combines creative control with the finished tactile product.
Protect your practice by saying no to pressure. You do not need to scrapbook every event, holiday, or milestone. Choose the memories that matter most to you and let the rest exist beautifully as loose photos in labeled boxes.
Scrapbooking serves you. The moment it feels like a chore, adjust your approach until joy returns. Some seasons you will create weekly. Others you will step away for months. Both patterns honor the purpose: preserving what matters in a way that feels meaningful, not mandatory.
Your photos already exist. Every layout you complete is a gift to future you, one page at a time.
For a more in-depth guide of what I like to scrapbook with, see my Beginners ‘ Guide to Scrapbooking.